
Just yesterday I discovered a few videos in my Jane Dunnewold class that I had never watched, so of course I ignored a few chores to watch them. I learned about making prints with a ballpoint pen, rubbing a laser photocopy with CitraSolv to make a fabric transfer, and treating heavy paper with hair conditioner to impart a soft crinkled texture.
I had little luck with the ballpoint pen technique to emboss paper, though I hope to try it again now that my gel plate is cleaner. Mark Yeates has videos that show how he uses it. His results are better than mine, but I can see that everyone gets grungy results so it’s not just me.

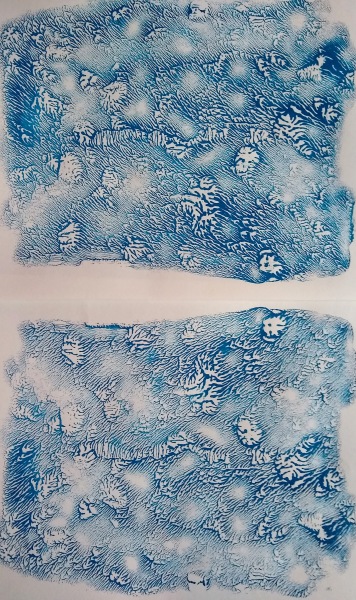
I need to make laser copies so I can try the CitraSolv technique, and I will go through my stash of hotel toiletries to find hair conditioner. I have managed to get decent prints from inkjet image transfers using glossy business paper. This involves an inkjet printing of a black and white image on a heavy glossy paper sold for brochures, time on the gel plate for the image to transfer, and then a pull with acrylic paint.


According to Jane, this technique doesn’t yield dark blacks so these are considered to be good results. She teaches it as a more reliable method than getting prints from magazine transfers. I tried more of that technique with no better luck. I think it’s partly that I don’t have the right kinds of magazines – glossy fashion ones. I’ve tried mail catalogs and have been warned that National Geographic is a total bust. At least I think I now understand the right amount of paint to use.
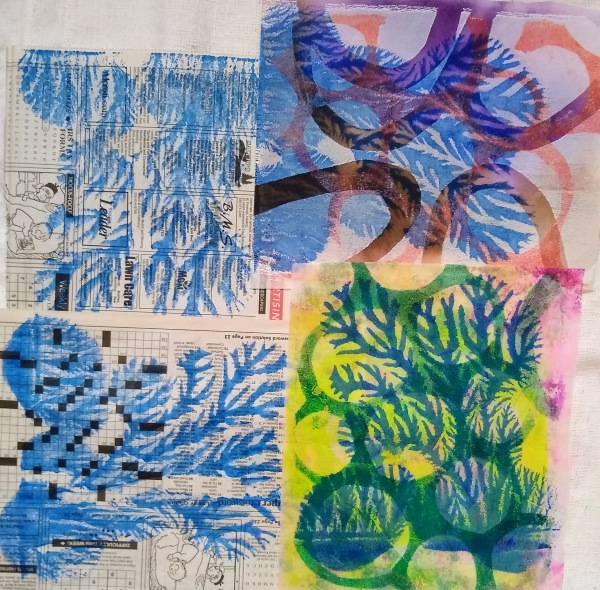
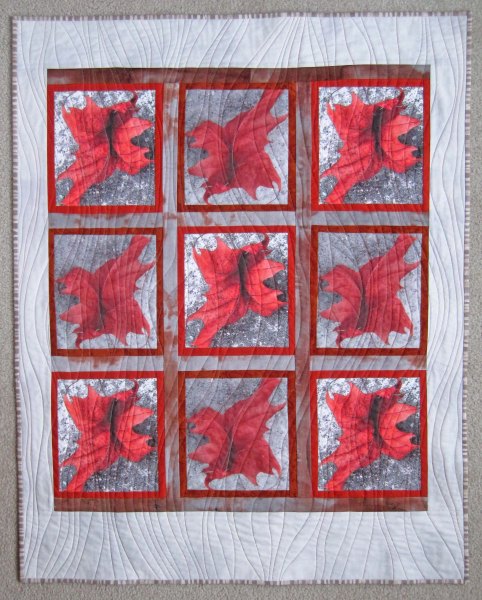
Here are other class results. While some students are already composing larger work with the techniques, I am still exploring how to get them to work.


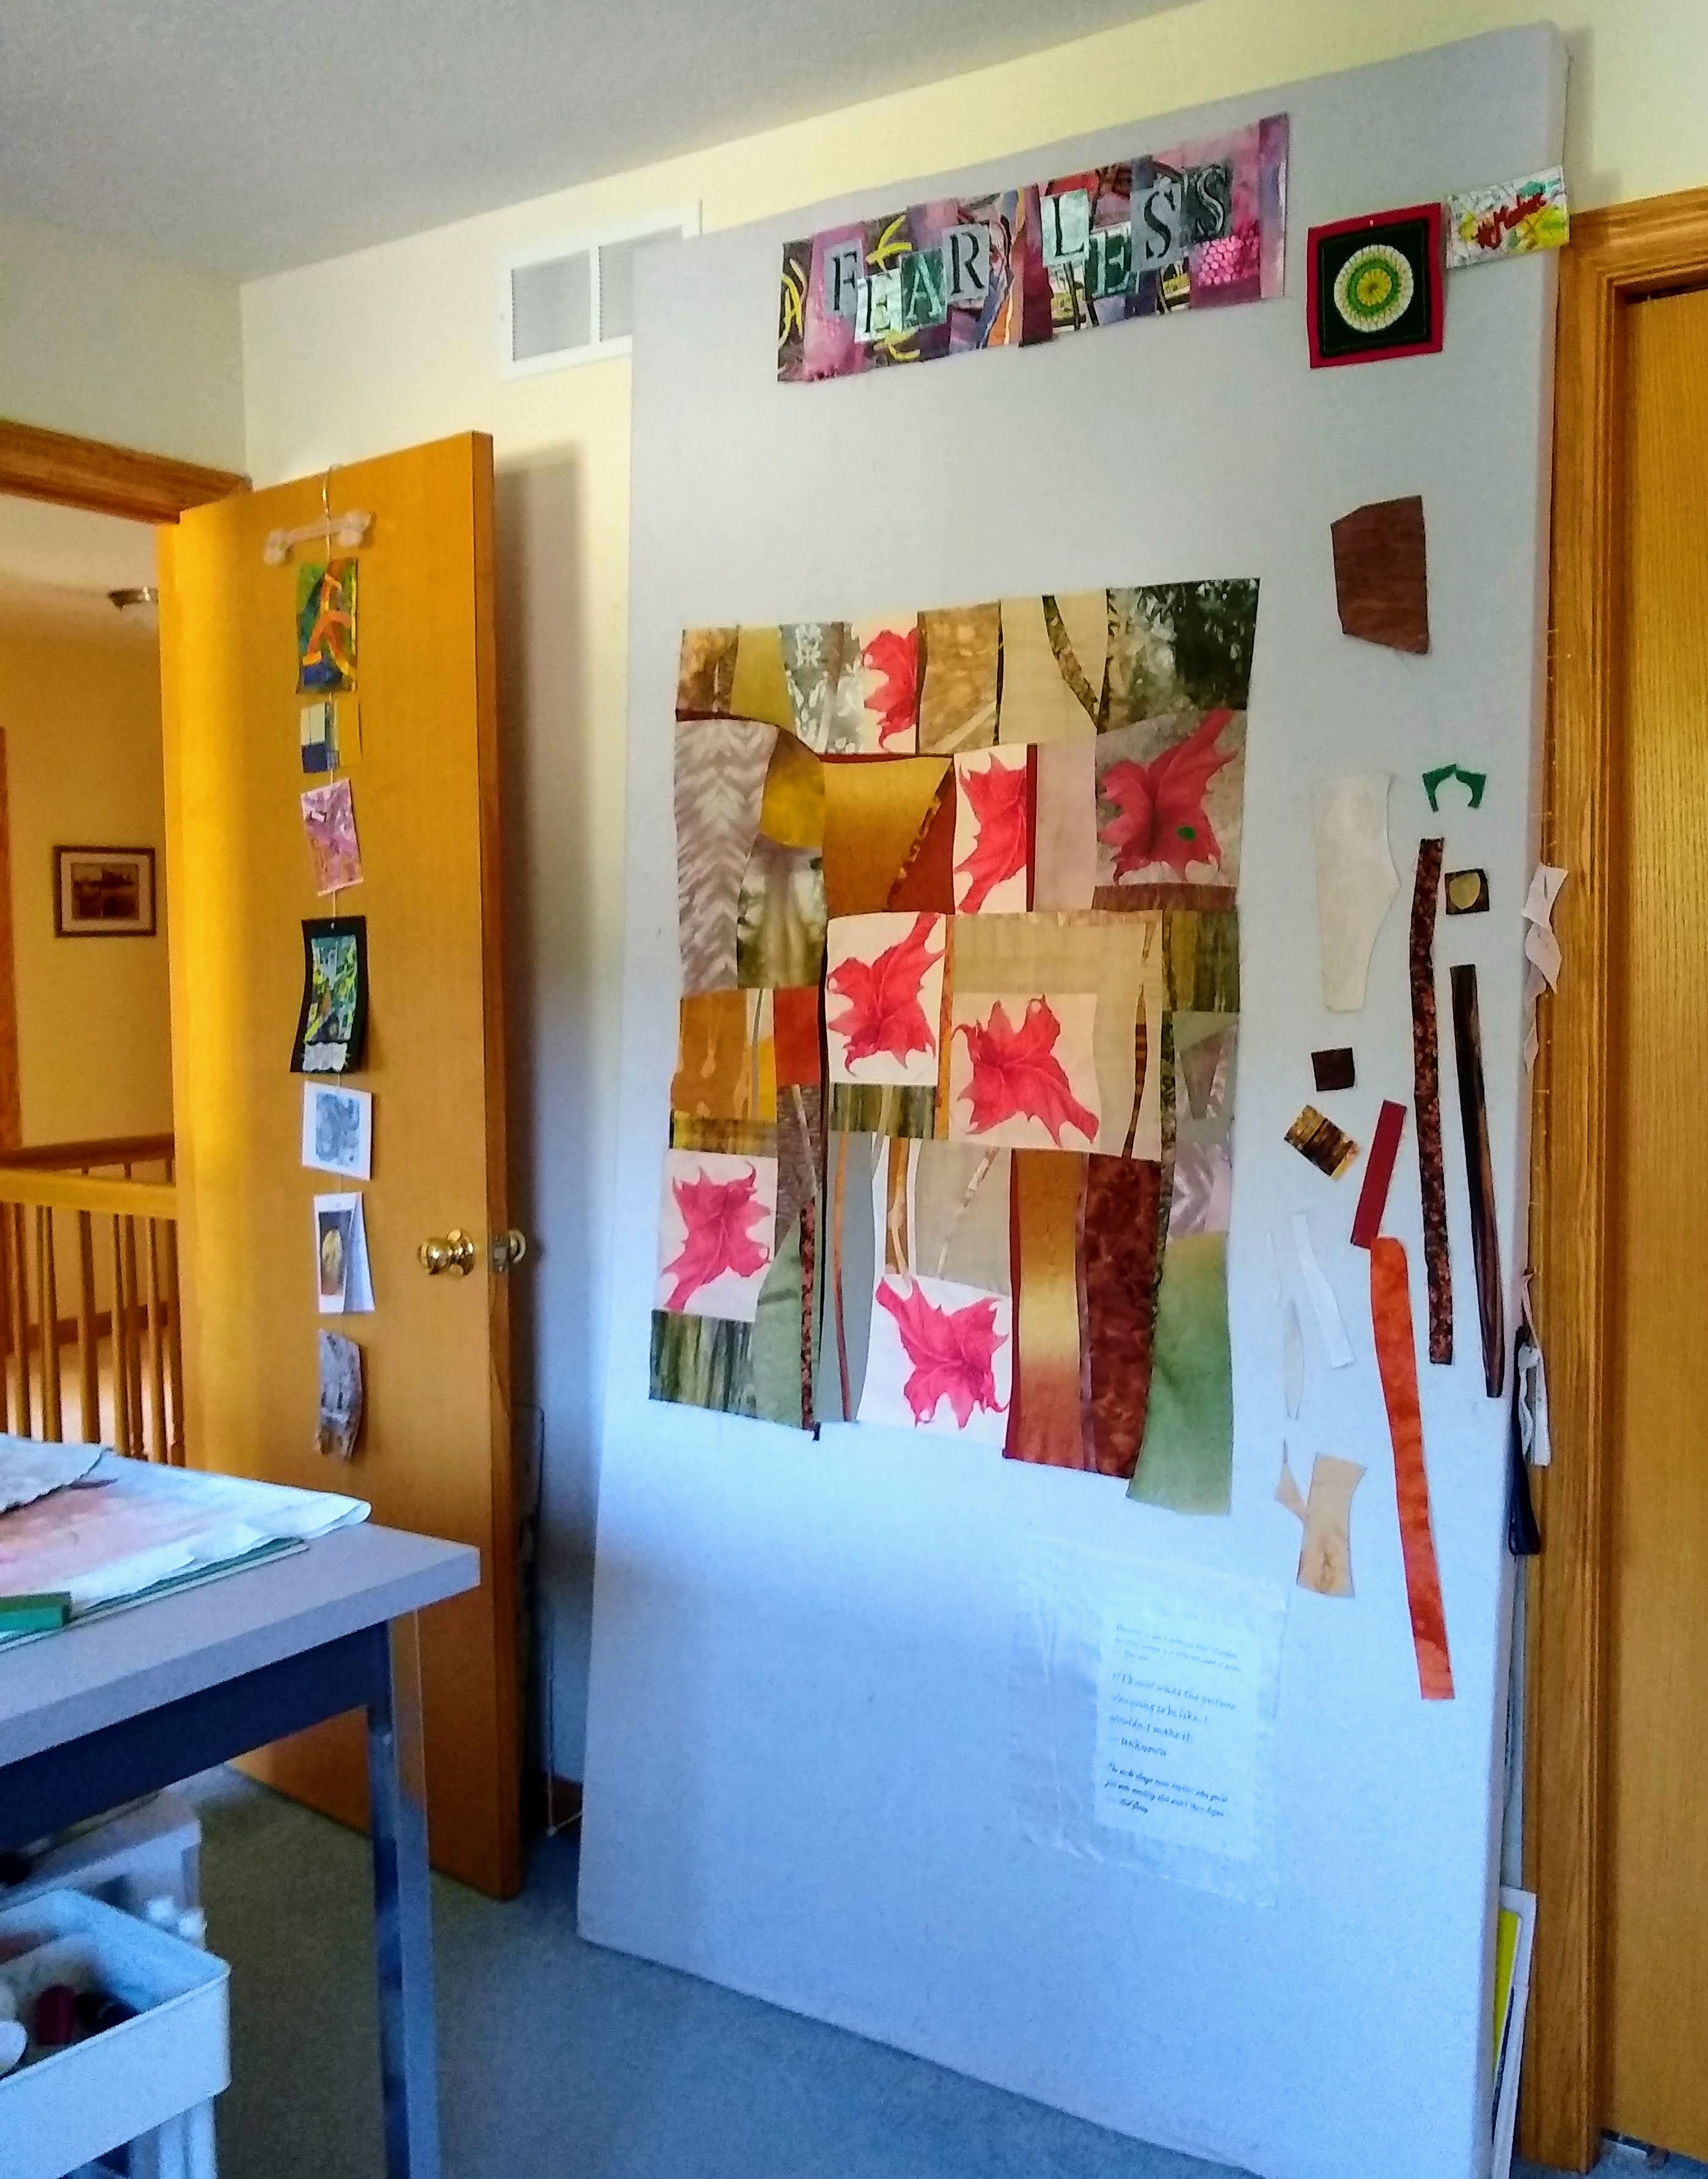
Finally, I want to note that Jane includes videos that show how she brings all the techniques together into finished and in process work. I have begun to compose on my design wall with bits I’ve made combined with stash, so I will just have to see where it goes.
I’m linking to Off The Wall Fridays.


We’re Close To The End, My Friends
In June 2012 I inaugurated this blog as follows: “Another quilting blog, ugh! Why? Well, I’ve been trying to neaten and straighten my notes, thoughts, resources, works in progress, and my work. So, I thought a blog might be the way to go. It’s for me primarily. If anyone else stumbles on it, that’s fine. I considered using Pinterest, but decided I needed the ability to add words. So here I am.”
I had no idea I would continue writing posts for 11 years. Yep, that’s 11 years of at least one post a week, for more than 1,000 posts. Alas, all the pictures in those posts have added up and WordPress has notified me I have reached my data storage limit. For the past five years I paid an annual fee to WordPress to gain more media storage, but when the renewal came up in September I decided to revert to the free version. I did think I had a bit of storage left, but I was wrong.
I have gone through my pages and posts and deleted items I thought weren’t worth keeping, and have done the same with the thousands of photos. It’s a time consuming and tedious process. However, I think the effort has bought me only a bit of breathing space. So, it’s highly likely this is my last original post.
The notice from WordPress is just one of many reasons I may retire my blog. As I suspect you have noticed, I have been writing more about non-fabric art in the past year or so. Hand, neck, and shoulder issues have made cutting and sewing fabric more of a pain than a pleasure. So I have turned to collage and mixed media as my art outlets. I still make quilted items, but they sometimes leave viewers scratching their heads. Maybe my earlier quilts were “better” but they were made in part to enter in shows. I’ve pretty much stopped that (with a few exceptions.) In fact, I have found myself drifting away from the quilting world. Local groups I belonged to have folded their tents, and I haven’t found any online groups that work for me.
Snarky Quilter was a labor of love and a wonderful way to make blogging friends. I have so enjoyed reading and responding to your comments. This blog should still be as accessible as it’s ever been, just without new material. I plan to post occasionally on Instagram (@snarky_quilter), so you can see any new work there.
I do have have one more piece of news for you. My quilt “Dreams of Freedom” was selected for SAQA’s virtual exhibit Imprisoned.
I’d love it if you want to drop me a line at snarkyquilter@gmail.com.
Share this:
19 Comments
Filed under Art quilts, Commentary
Tagged as art quilts, Dreams of Freedom, final post